
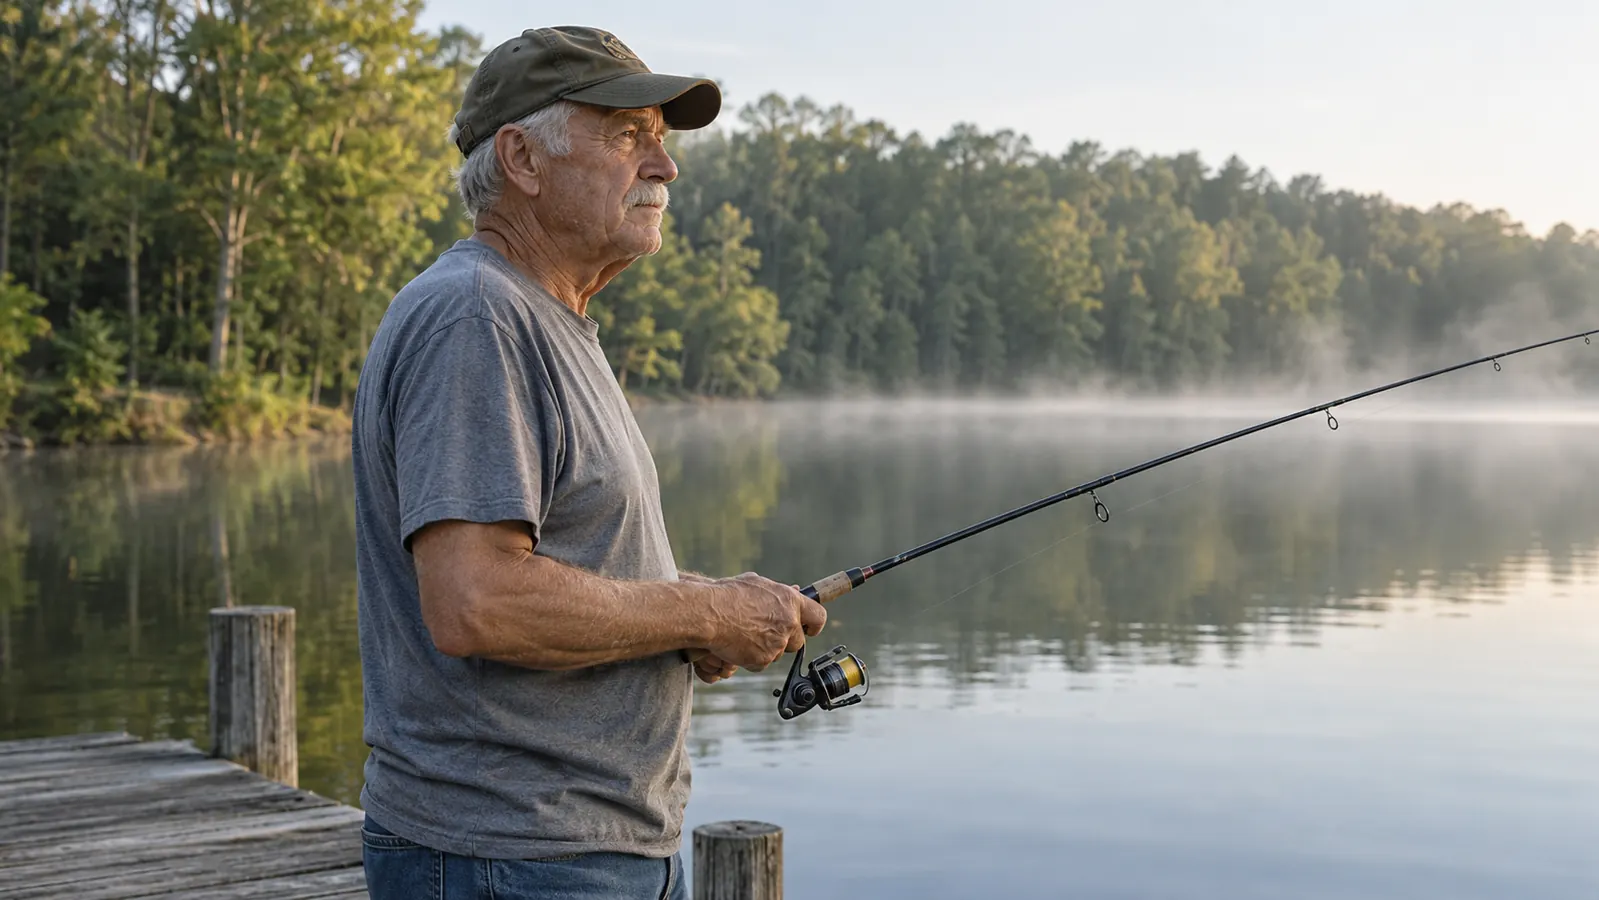
The first spinning reel I spooled myself came back at me in a nest of loops the size of a softball. I was twelve. My dad handed me a filler spool and told me to wind it on, and I laid the spool flat on the dock and wound it on backwards. He did not yell. He cut the line off, handed the spool back, and said we would try again. That was 1977. I still check which way the line comes off the spool before I tie anything.
I am not a tournament angler and I am not going to pretend to be one. I am a retired machinist in Kalamazoo County with a 14-foot aluminum jon boat, a trolling motor that complains in the wind, and a grandson named Tyler who is convinced every lake in southwest Michigan holds a five-pound bass. What I am is particular about setup. A bad spool job or a loose reel seat has cost me more fishing time than bad luck ever has. For the past few seasons the outfit that lives in my truck has been the OKUMA Voyager Spinning Freshwater Travel Kit, model VS-605-20. It is a matched rod and reel combo that travels in a nylon bag with a shock-resistant foam insert and an adjustable shoulder strap. The reel is rated for 100 yards of 6-pound line, and the whole kit weighs 0.57 kg, light enough that Tyler carries it down to the dock without being asked twice.
Packed, strapped, and ready before the coffee finishes
The OKUMA Voyager kit comes as a matched rod and reel in a nylon travel bag with a foam insert, so the setup you do at the kitchen table is the same one you fish. Check today's price and see what the current listing includes.
Amazon Check Today's Price on Amazon →Five Steps From Bag to First Cast
None of this takes longer than twenty minutes at the kitchen table. Do it once properly and the rest of the season is checking, not fixing.
Step 1: Empty the Bag and Look Everything Over
Unzip the bag and take everything out. Set the foam insert somewhere flat and out of the way, because that insert is the reason the guides survive a truck bed full of coolers and tackle boxes, and it does not do its job if it is wedged behind a seat. Run your thumb and forefinger down each guide and feel for a nick. A burr you can barely feel will fray six-pound line on the first cast, and you will blame the line instead.
Now pick up the reel and decide which hand you reel with. On a spinning outfit the reel hangs under the rod, not on top of it, and that is not a preference, that is how the thing is built to work. Most spinning reels let you move the handle to either side, and doing that at the kitchen table beats doing it in a boat with cold hands and a fish waiting. Sit the rod in your lap, hold it the way you would cast, and see which hand reaches for the handle without you thinking about it. That is your reeling hand.
The last thing to look at before you mount anything is the spool rating. This one is rated for 100 yards of 6-pound line, and the listing recommends it for panfish, bass and trout. That rating is not a suggestion about line size, it is a description of where the reel is happy. Six-pound mono is where I would start for bluegill and crappie, and it handles small bass plugs fine as long as you are not dragging fish out of thick weeds.
Step 2: Mount the Reel Under the Rod
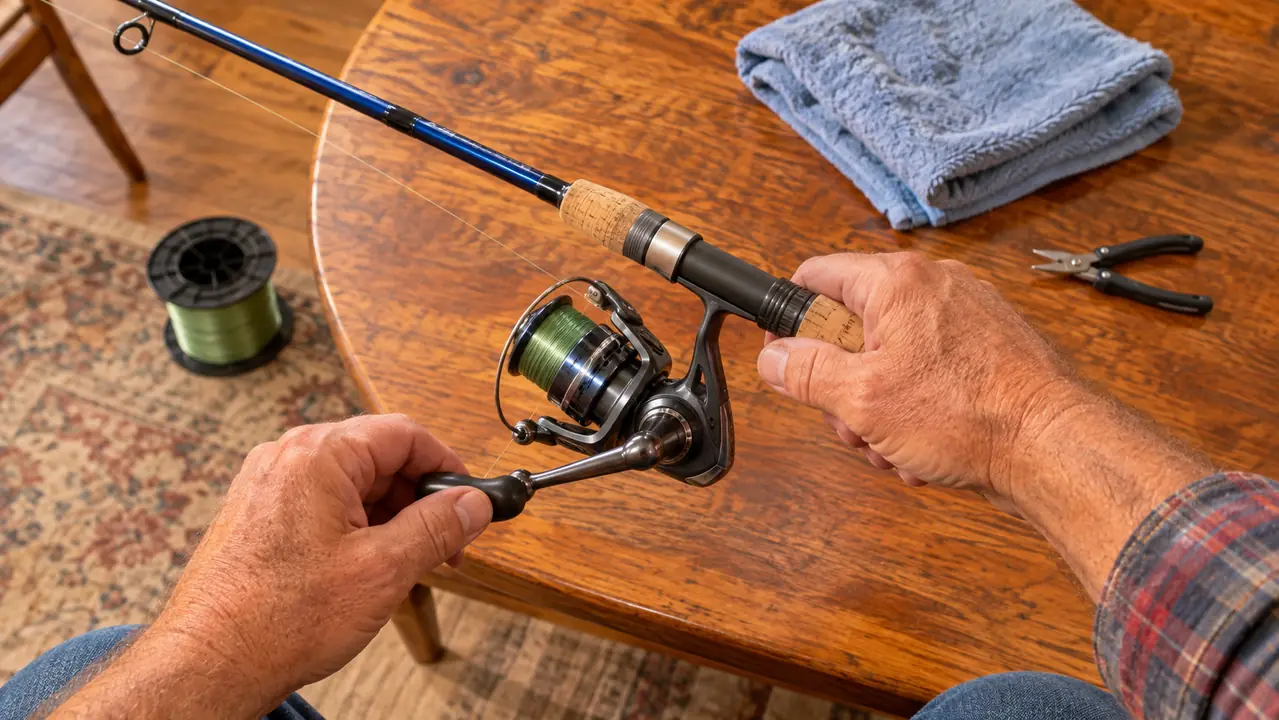
The reel foot slides into the seat on the rod handle and the reel body hangs below. Slide it in until it seats, then turn the locking nut down hand tight. Hand tight, not wrench tight. A reel seat that has been cranked down with pliers will eventually crack, and then the whole outfit is a fancy stick with no way to attach a reel to it.
Before you tighten it all the way, sight down the rod from the butt end and make sure the spool is square. If the reel is twisted a few degrees off, line will pile up on one side of the spool and you will fight it all morning. Line the spool up so the line comes off toward the first guide, then finish tightening and give the reel a small tug to confirm it does not rock.
Then hold the outfit the way you actually fish it. At 0.57 kg for the kit, this is a light setup, and a light setup should feel like it disappears in your hand rather than pulling at your wrist. If the rod feels tip heavy, check that the reel is seated all the way forward in the seat. Nine times out of ten that is the problem, not the rod.
Step 3: Spool 100 Yards of 6-Pound Line With Tension
Run the line through the guides before you tie anything. Thread it from the tip down or from the butt up, whichever keeps you from skipping a guide. I have watched a grown man cast a perfect loop of line into the lake because he missed the second guide from the top. Then tie the line to the spool with an arbor knot, which is an overhand knot around the spool arbor with a second overhand knot in the tag end so the first one cannot pull through.
Now the part that matters. Lay the filler spool on the floor with the label facing up so the line comes off the top, or flip it if it comes off the bottom. Pinch the line between your thumb and forefinger a foot above the rod and reel slowly, keeping steady tension the whole time. If the line goes on loose, it will bury itself in the spool the first time a bass runs, and you will be picking at it with a hook point while the light goes off the water.
Fill the spool to about an eighth of an inch below the lip. Not flush, not proud of the lip, and not half full. Overfilling is the most common mistake I see, and it turns every cast into a chance to throw a loop. If the line comes off the spool in tight coils when you open the bail, strip thirty feet onto the grass, walk it out, and reel it back on under tension. Monofilament has a memory and there is no arguing with it.
The spool is rated for 100 yards of 6-pound line, and the right fill is about an eighth of an inch under the lip. Overfill it and you will spend the morning picking loops instead of fishing.
Step 4: Tie On and Set the Drag
Tie on a hook or a small jig with an improved clinch knot. Pass the line through the eye, wrap it five or six times, pass the tag through the small loop above the eye, then through the big loop you just made, and pull it down slow. Wet the knot before you snug it. Lake water works, spit works, and a dry knot pulled down hard will burn itself and fail on the first decent fish.
Set the drag by pulling line off the spool by hand. With six-pound line you want the spool to give line at roughly two pounds of pull, which is about a third of the line's rated strength. That is lighter than most people expect. Set it heavier than that and a good fish will pop the knot or straighten a light hook, and you will spend the rest of the trip wondering what went wrong.
Then adjust for what you are fishing. Bluegill and crappie do not need much drag at all, and a light setting keeps a small hook from tearing out of a papery mouth. Bass around weeds need more, enough to turn a fish away from cover without breaking off. Check the first six feet of line after every fish with teeth, every snag you break off, and every trip where you dragged the outfit through brush. Cut back and retie. Line is cheap compared to the rest of the day.
Step 5: Pack It Back and Run a Two-Minute Check
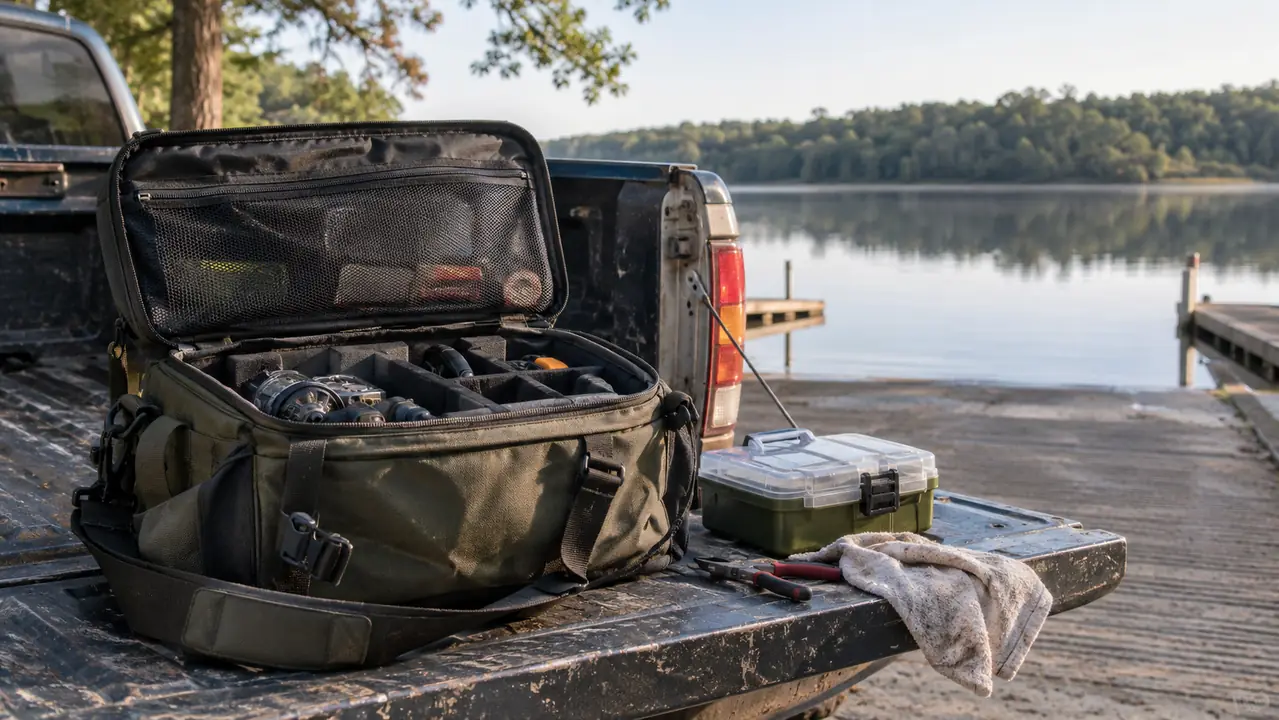
When you are done, coil the line loosely, put the rod back in the bag against the foam insert, and zip it. The nylon bag with the adjustable shoulder strap is the part of this kit I have come to appreciate most, not because I travel far, but because the outfit lives in the truck between trips and the bag keeps the guides from getting bent under a cooler.
Two minutes before you leave the house, run the check. Guides clear, reel seat snug, handle tight, knot sound, drag where you want it, and the first six feet of line free of nicks. Then open the bail, let the line hang, and close it. Anything that looks wrong in those two minutes is a lot easier to fix at the kitchen table than on the water with the wind picking up.
Tyler learned that one the hard way last July. He had put the rod away wet the week before and the line had taken a set in tight coils. He spent the first twenty minutes of a good bluegill bite stripping line into the bottom of the boat. Now he runs the check himself, mostly so he can tell me I forgot something.
What Else Helps
A small tackle box that fits beside the bag, a pair of line clippers on a lanyard, and a rag. That is the whole kit beyond the rod and reel. Clippers matter more than people give them credit for. Teeth work in a pinch, but they leave a jagged tag end that catches on a guide and makes a sound you will hear all morning.
A spare filler spool of six-pound line in the truck is worth the space it takes up. Line does not last forever, especially line that sits in a hot truck bed all summer. Sun and heat both go after monofilament, and the first sign is a line that coils instead of laying straight. If a foot of line snaps between your hands with almost no effort, it is time to respool before you lose a fish that mattered.
A line dressing helps in cold weather, when mono stiffens up and picks up memory faster than it does in July. Keeping the whole bag out of direct sun when you are not fishing will add a season to the line as well. None of that is complicated. It is just how monofilament behaves, and no reel changes it.
The setup is not the hard part of fishing. Finding fish is the hard part. But a rod that is ready when you grab it removes one more excuse to stay home, and at 61 I have learned to remove as many of those as I can. The OKUMA Voyager is not a tournament outfit and I would not pretend otherwise. What it is, is a matched rod and reel that packs into its own bag, weighs 0.57 kg, and takes 100 yards of 6-pound line, which covers about everything I do from the jon boat and off the piers at South Haven.
A setup you do once at the kitchen table, then stop thinking about
The OKUMA Voyager is a rod and reel combo in a nylon travel bag with a shock-resistant foam insert and an adjustable shoulder strap. The reel is rated for 100 yards of 6-pound line. Check today's price and read the current listing details for yourself.
Amazon Check Today's Price on Amazon →