
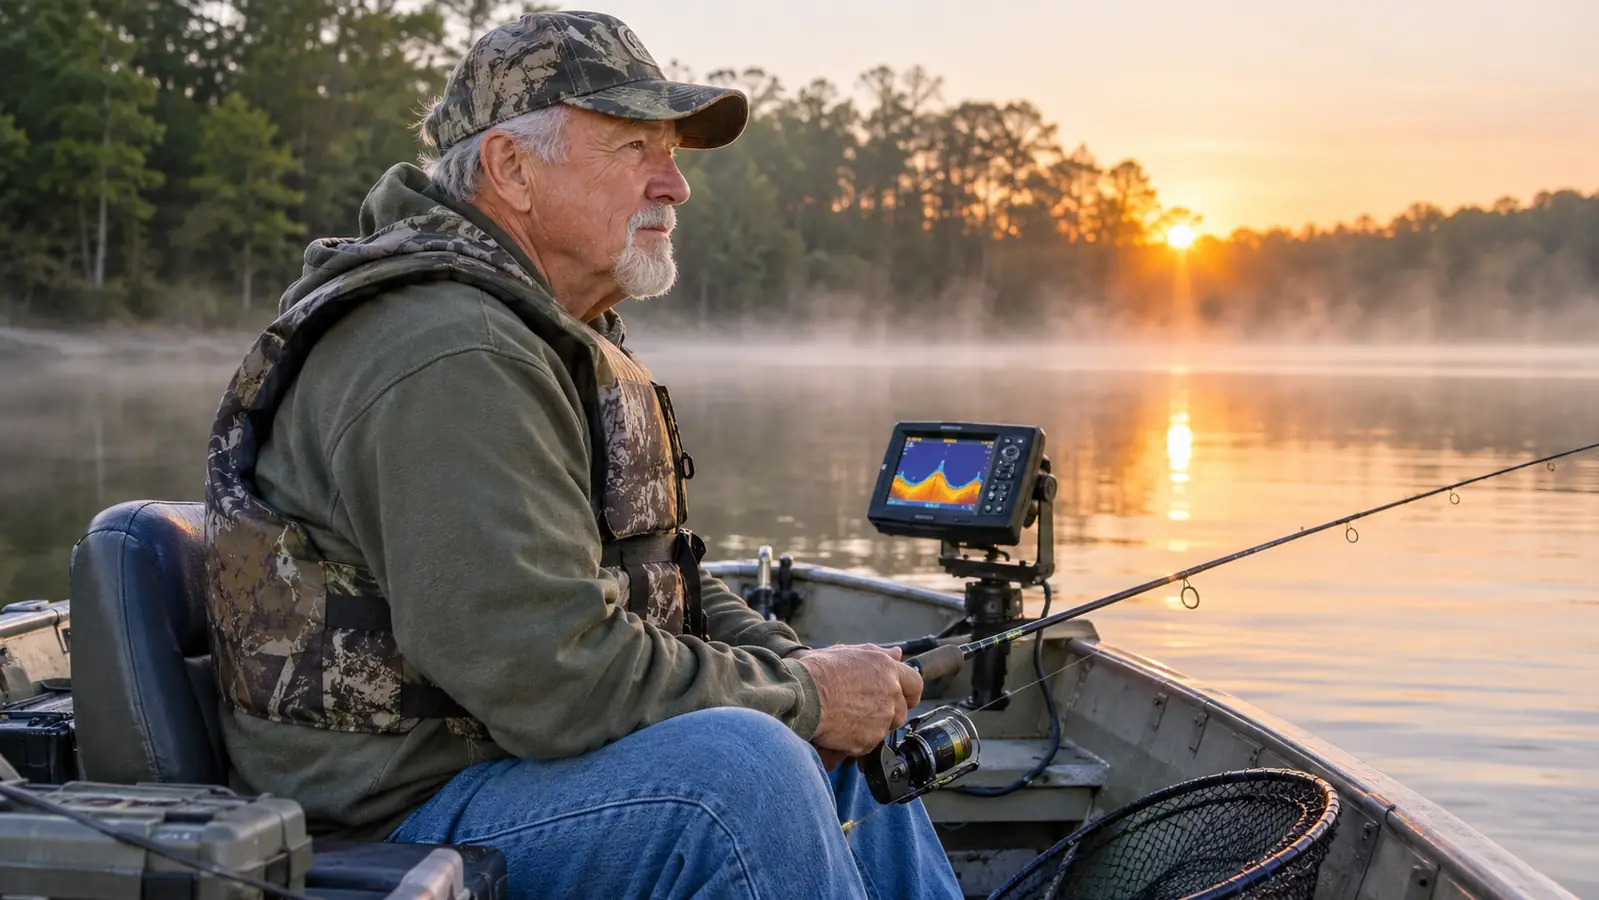
The first time I put a fish finder on my jon boat, I burned forty minutes staring at a screen full of static, caught two small bass, and drove home convinced the machine was broken. The lake was maybe 90 acres. I knew where the weed edge ran and roughly where the bottom dropped off toward the middle. What I did not know was the order to read things in, so I treated the screen like a television and waited for it to entertain me. It did not.
The fix was not a bigger unit. It was a sequence. I run a Garmin STRIKER 4 on a 14 foot aluminum boat now, mostly on the small lakes around Kalamazoo County, and the screen is the same 3.5 inch screen it always was. What changed is that I read it bottom up: bottom trace first, water column second, fish marks third. That order matters more than the brand of the unit or how much you spent on it. Below is the sequence I use, and the one I walk my grandson Tyler through when he rides along on summer weekends. It takes about a season to get quick at it. It takes one afternoon to stop being confused by it.
The Unit I Learned On, and Still Run
The Garmin STRIKER 4 is a 3.5 inch LCD screen with dedicated buttons, CHIRP sonar, a waypoint map and a transom mount transducer in the box. Nothing on it needs a manual after the first weekend.
Amazon Check Today's Price on Amazon →Step 1: Set the Depth Range Before You Judge the Screen
Most of the complaints I hear about fish finders come from a range setting, not from the sonar. On a 20 acre inland lake you may never fish water deeper than 18 feet. If the unit is showing the whole column out to 60 feet, two thirds of your screen is water that does not exist where you are sitting, and the bottom you actually care about is squashed into a thin strip along the top edge. No amount of squinting fixes that.
Set the top and bottom limits to bracket the water in front of you. On the Garmin that is a couple of button presses through the menu, which is one reason I like dedicated buttons over a touchscreen in a boat. I do it in the driveway before I launch, because doing it with a rod in one hand and the trolling motor running is how you end up fishing the wrong range all morning and blaming the unit.
Once the range is tight, small things get big. A one foot rise in the bottom becomes a visible ledge. A stump that was a single pixel becomes a shape you can cast at. That is the whole point of the exercise: you are not trying to see more water, you are trying to see less water with more detail. On shallow lakes, less is the upgrade.
While you are in that menu, glance at the water column itself. The empty space between the surface and the bottom trace is where most of the information lives. If it is clean, you are seeing real marks. If it is a snowstorm of dots from the surface down, something is wrong with the setting or the transducer, and no fish shape on that screen means anything until you fix it.
Step 2: Read the Bottom Trace Before You Look for Fish
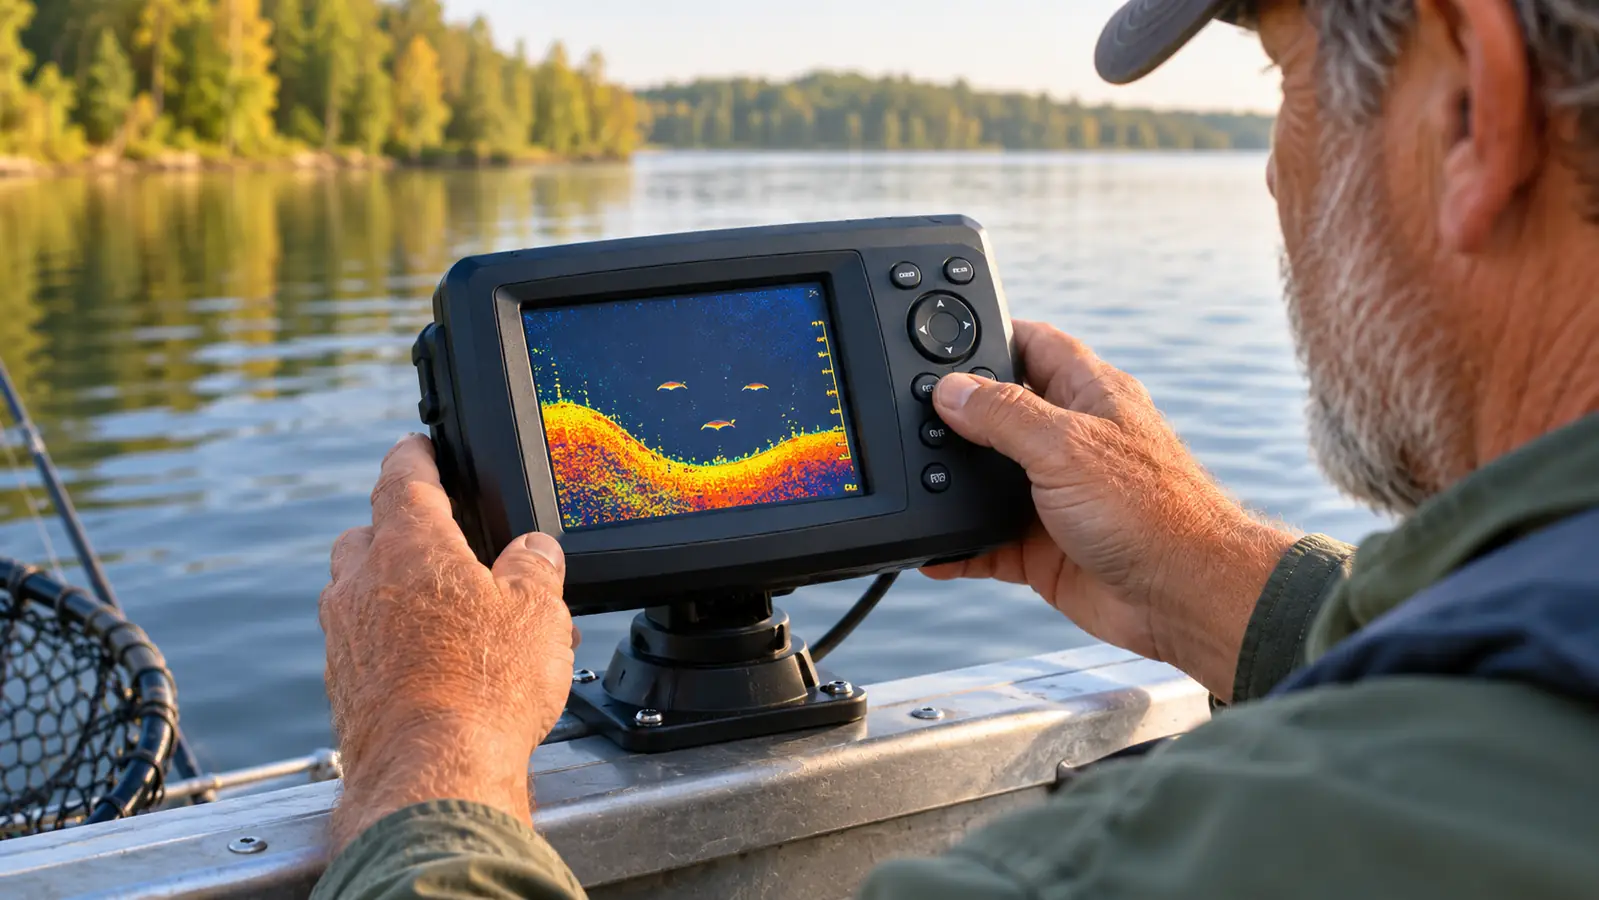
The bottom line is the most informative thing on the screen and the part most people skip past on their way to looking for fish symbols. Hard bottom, sand, gravel, packed clay, returns a thick bright line and usually a second echo a little below it. That second echo is the signal bouncing off the bottom and then off the surface again. Soft bottom, silt, leaf muck, returns a thin faint line that fades out at the edges and sometimes has no second echo at all.
Why that matters on an inland lake: bottom composition tells you where the food is. The gravel strips near a boat ramp hold crawfish and the bluegill that eat them. The soft muck in the back bays is where the mayflies hatch and where crappie stack up in late fall. If you can tell those two apart on a 3.5 inch screen, you can pick which shoreline to fish without wetting a line first.
I also watch the trace for hardness changes on a straight pass. When the line goes from thin to thick within twenty feet, that is a transition, and transitions are where I stop the boat and slow down. On the lakes near home I have found more fish on a sand to muck edge than on any piece of visible cover, because that edge is where the bait gets pushed against the soft water.
Step 3: Learn What an Arch Actually Looks Like
A fish arch is not a drawing of a fish. It is the shape a fish makes as it passes through the sonar cone. A fish entering the edge of the cone is far from the transducer, so it reads deep. As it moves toward the center it reads shallower. As it leaves, it reads deep again. The result is an arch, and only a fish that swam through the middle of the cone gives you a complete one.
That is why a half arch, or a thick blob sitting near the bottom, is not a failed reading. It is a fish that clipped the edge of the cone. On a small display the difference between a blob and an arch is measured in pixels, so I pay more attention to the shape of the group than the shape of any single mark. A cluster of short marks tight to the bottom in summer is usually bluegill or crappie holding on structure. A smear that looks like weather on radar is bait, and bait means something is nearby to eat it.
The thing I had to unlearn: a big clean arch is not a promise. On a shallow lake in July, most of the bass I catch never show on the screen at all, because they are tucked under a weed mat a few feet from the boat and never enter the cone. The finder tells you where the water changes. It does not tell you where the fish are willing to bite, and no setting on the menu will make it do that.
A hard bottom gives a thick bright line with a second echo under it. Soft muck gives a thin line that fades. That one difference tells me more about a strange lake than any fish symbol on the screen.
Step 4: Mark Structure on the Waypoint Map and Fish the Same Line Twice
I ignored the waypoint map for a whole season and I regret it. Every time I pass a brush pile, a stump field, or a ledge where the bottom jumps from 6 feet to 14, I now drop a waypoint. The point is not to remember where the fish were that day. The point is to remember where the cover is, so next Saturday I can drive straight to it instead of hunting for a shoreline tree that looks like four other shoreline trees.
The small lakes around here are perfect for that, because you can mark a dozen pieces of structure in a single morning. A 90 acre lake is a puddle on a map and a maze when you are sitting in it. After two trips with the waypoint map, it stops being a maze and starts being a list of spots you already know something about.
Mark the structure, not the fish. Fish move with the season, the bait and the weather. Stumps, ledge edges and rock piles do not. If you mark the cover and learn it, those marks stay useful for years and across different conditions. If you mark every fish you see, you end up with a screen full of dots and no idea why any of them mattered.
Then run the same line twice, in opposite directions. Sonar looks straight down, so a pass one way shows you what is directly under the boat. The return pass puts the boat on the other side of that structure and shows you the face you missed. The second pass is where I catch most of my fish, because by then I know whether the mark was a stump or a school.
Step 5: Tune Gain and Clutter for Shallow Water
In six feet of water, a fish finder is working in a narrow cone close to the bottom and everything is louder. Weeds, prop wash, the second echo, all of it crowds the screen. Turn the gain down until the bottom trace is solid and the water above it is mostly clean. If you are seeing a thick band of clutter two feet under the surface, that is usually weed tops or a transducer angle problem, not a school of fish.
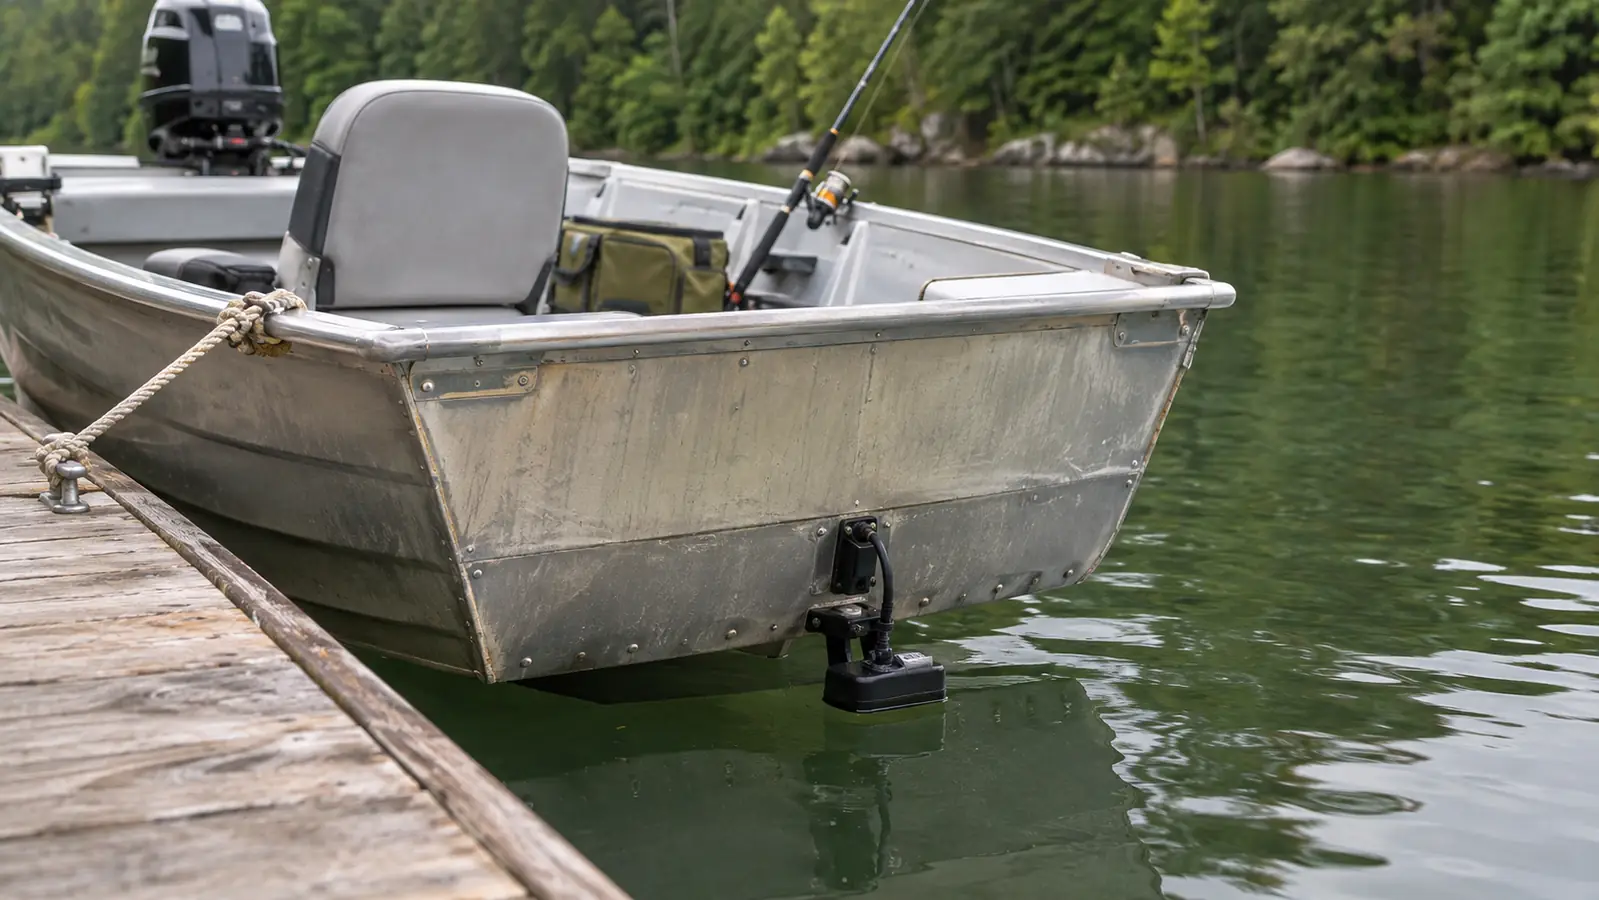
Transducer placement does more for a clean picture than any setting on the menu. The transom mount needs clean water with no strake or rivet in front of it. Mine sits just below the hull line where it stays wet at trolling speed and does not throw a rooster tail. When I had it an inch too high, the screen dropped out every time the boat rocked, and I spent two whole trips blaming the Garmin for a mounting problem.
One number worth ignoring: the maximum depth rating. The STRIKER 4 is rated to 1600 feet. I fish lakes where the deepest hole is maybe 40. What matters to me is whether the unit holds bottom at 25 feet with the trolling motor running, and whether I can read the display in flat afternoon sun. The 3.5 inch screen is small, and that is the honest trade off. At 8 ounces on a tilt and swivel mount, it also does not rattle loose on a choppy morning. Everything about a small unit is a trade, and knowing which trade you made is half the battle.
What Else Helps
Keep a paper log. I write the date, the lake, the water clarity, and what the bottom looked like on the screen for each spot I fished. Two seasons of that and you start seeing patterns you would never hold in your head. The screen is the tool for reading water. The log is the tool for reading a lake across a whole year, and it costs you a notebook.
Carry a marker buoy and use the finder to confirm what you are seeing. A stump that shows on the screen and a buoy sitting over it are two different kinds of information. On a windy day the buoy also tells you how fast you are drifting even when the trolling motor is off, which is the difference between a slow presentation and a wasted one.
Fish the shaded side of a point before you fish the sunny side, and let the finder tell you why. The bait shows up on the screen as a smear before the gamefish show up as arches, and that order repeats often enough that I plan around it now. If I mark bait and no predators, I keep moving. If I mark both, I stop and slow down.
Get the kid involved early. Tyler learned to read the bottom trace before he learned to cast accurately, mostly because I made him call out hard bottom or soft bottom on every pass. He is better at it than I am now, and it is an easy way to keep a 12 year old engaged when the bite is slow and the boat is quiet.
One last note for first time buyers. The unit ships with the transducer, the transom mount hardware, the tilt and swivel mount and the power and data cable, and it carries a one year limited warranty. A lot of people assume they need to order a transducer separately. You do not, and knowing that saves you a week of waiting before your first trip.
Read the Bottom First and the Lake Gets Smaller
A 3.5 inch screen with CHIRP sonar, dedicated buttons and a waypoint map will not find fish for you. It will show you the hard bottom, the ledges and the cover, which is the part that otherwise takes years to learn by feel. Start there.
Amazon Check Today's Price on Amazon →